
Inspiration

There is a video game where you play a hacktivist seeking to eliminate big brother’s influence over Chicago. Over the course of the game you get a large collection of devices which James Bond would be proud of. One of my favorites is the Lure. This is a small device which occasionally emits a sound to attract enemies and allow you to sneak by.
I always though this would be a fun project to build and after watching a few too many ghost hunting videos I thought it would be great to have a device which could also spook a paranormal investigation team by having the ability to play longer sounds and “creepy” noises.
GOALS
- Small – Easy to Conceal
- Loud enough to be heard from far away
- Battery life of 12-24 hours to allow you to place and recover device
- Play MP3, OGG WAV and other standard audio formats. Do more than chirp
- Not rely on external wifi/networking
- Triggerable from a phone
- Use as little custom hardware/code as possible.
A General Note – This is not a commercial product, in many cases I take shortcuts to make this work as simply and quickly as possible (Remember the site is called My Bodge). Since the end goal is to have a device which does not live on my network, I am ignoring best practices for network security, software design, common decency, and most of all common sense. Just have fun with the project, feel free to vent in the comments and I will feel free to ignore you. Relax… it will be ok if you don’t scrub your inputs just this once…. I won’t tell.
Components
Hardware
- Rasberry Pi – A raspberry pi has both wifi and Bluetooth connections for control. They can act as a wifi hotspot to access remotely and has a native ability to play sound files in a variety of formats. I used a RPi 3+ but any model should work as long as its accessible from wifi.
- SD Card – I used a 32gb sd card, but really you can go smaller without an issue.
- Audio Hat (optional) or Powered Speakers – the full size Pi has a headphone jack which you can connect to powered speakers but a Pi Zero does not. Thankfully, a number of clever people have created this already (I used the WM8960 board – https://www.amazon.com/gp/product/B08CCV3XVZ/ref=ppx_yo_dt_b_asin_title_o06_s00?ie=UTF8&psc=1) but there are others out there.
- Power – I used an Anker Power Core 10000mah usb powerbank. On the Raspberry pi 3b it lasted 24 hours with a decent amount of playbacks occurring. No special reason you need this battery, I just had a couple handy, battery size has a direct impact on how long the Pi will stay on.
- Container – I am 3d printing a container for this project but there is no reason at all for you to do this. This project will happily work in a spare tuperware or plastic bin.
Software
- Rasbian aka Raspberry Pi OS – Just grab the latest
- Apache2 – Again the latest
- PHP – Just grab version 7.21.b/6…. no other…. Really nothing will work unless you manage to find this mythical version of php… oh wait never mind, just grab any version which mod_php in apache supports. Don’t worry we will cover exactly how to do this.
- Omxplayer – Raspberry pi audio player – Should come with rasbian.
- Drivers for Audio Hat (as appropriate)
- Audacity (for adjusting levels on the sounds files)
Steps
Follow the steps for setting your Raspberry pi
Connect to the raspberry pi using the ssh command
Install apache
sudo apt-get install apache2 -y
Install php and the apache plugins
sudo apt-get install php -y
sudo apt-get install libapache2-mod-php -y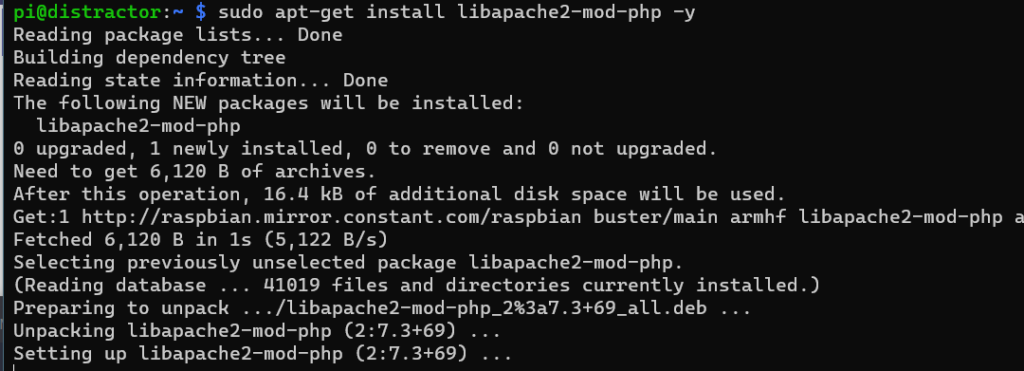
Change to /var/www/
cd /var/wwwChange the owner of html to pi:pi
sudo chown pi:pi htmlUpdate apache to run as pi:pi
sudo nano /etc/apache2/envvarsWithin the editor change the lines APACHE_RUN_USER=www-data to APACHE_RUN_USER=pi
Change the line APACHE_RUN_GROUP=www-data tp APACHE_RUN_GROUP=pi

Restart
sudo restartTest the web server
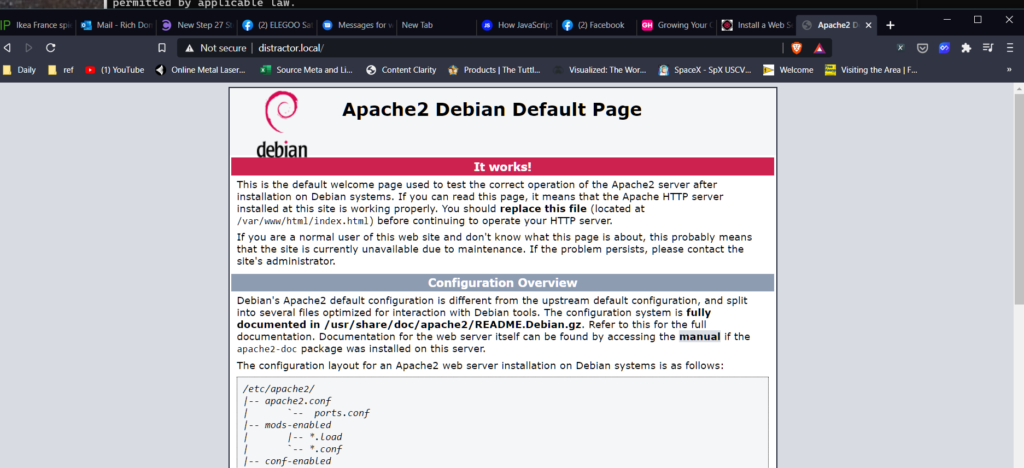
From your computer try bringing up the default page for your pi
Launch a browser and bring up http://<your pi hostname>.local If you needed to use an ip address to ssh to your pi, use that to bring up the page.
Now lets confirm that php is working correctly. Enter the following command
sudo nano /var/www/html/test.phpEnter the following line <?php phpinfo(); ?>
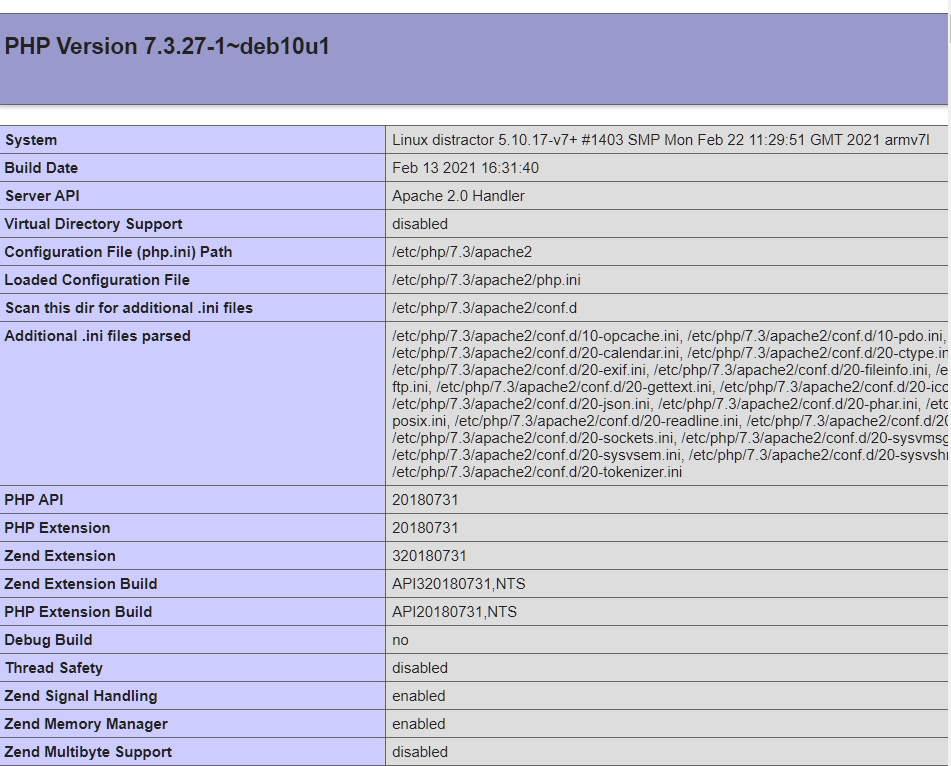
Save the file then bring the file up in your browser by navigating to the same url as the last step plus /test.php
You should see the following. Don’t worry if your version is different
At this point you have a functional web server running on a computer. Congrats
Making noise
If you are using the built in headphone jack for sound skip till the “Playing a Sound” section
Install git
sudo apt-get install gitGrab the audio drivers
git clone https://github.com/waveshare/WM8960-Audio-HAT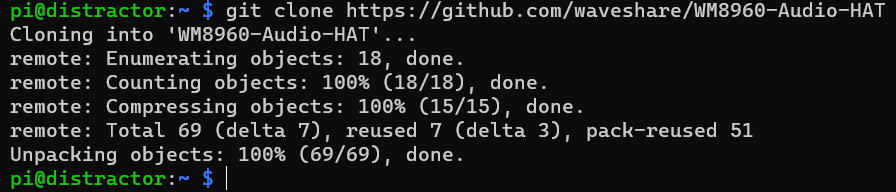
Change to where the newly downloaded files
cd WM8960-Audio-HATInstall the hat drivers and restart
sudo ./install.sh
sudo reboot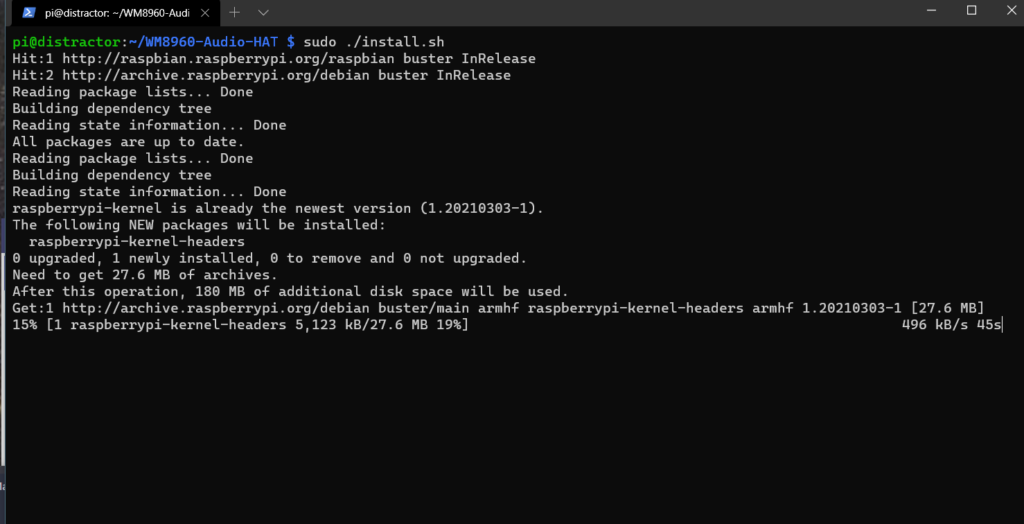
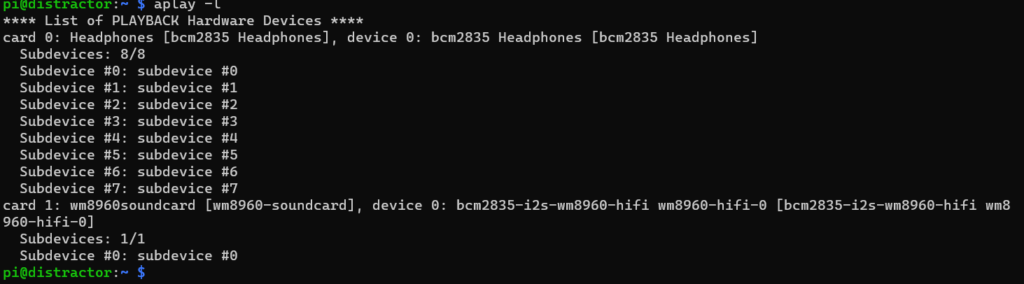
aplay -lCheck to make sure the sound board appears
Playing a sound
If you installed the full version of Raspberry PI OS this step can be skipped. If you installed the light version we need to install the Raspberry Pi audio player OMX Player.
sudo apt-get install omxplayer
Change to the following directory
cd /var/www/htmlCreate a directory to hold sounds
mkdir soundschange to that directory
cd soundsDownload a sample file
wget http://www.mybodge.com/wp-content/uploads/2021/03/whistle.wav

Play the file
If you have an audio hat use
/usr/bin/omxplayer --no-keys -o alsa:hw:1,0 --vol 1000 whistle.wavor if you are connected to the headphone jack on the pi use
/usr/bin/omxplayer --no-keys -o local --vol 1000 whistle.wavTroubleshooting
- Volume – There are some known issues with the WM8960 and its ability to support the command line volume. I have found that louder sound files are frequently distorted. The example files with this article have had their volumes lowered to accommodate this.
- No Sound – Check that your card is listed via aplay -l. If it is not reach out on github to the audio hat drivers issues board.
Finally the app
The basics of Version 1 of this application is
- User connects to the pi and displays a list of sounds to play
- User Clicks on a button to select a sound
- Sound plays via the omxplayer app. Basically trigger the same command as we used to test the sound when the user clicks on a button.
Build the app
Switch to the html root directory
cd /var/www/htmlRemove the default apache page
sudo rm index.htmlCopy Sounds
This file has a set of sound files for your use. Unzip the files into a directory of your choice
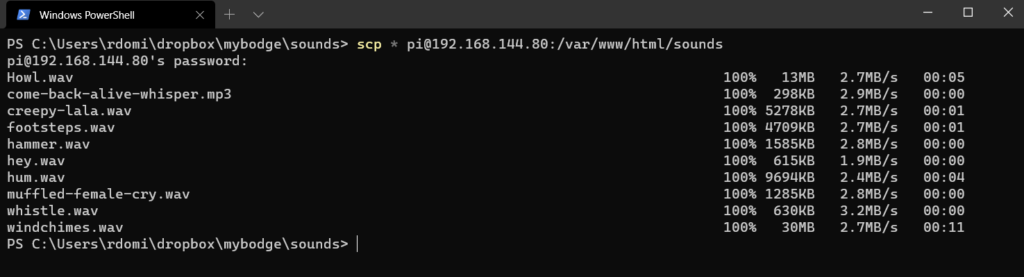
Open a local command prompt, change to that directory and run the following
scp * pi@<your pi’s address or name>:/var/www/html/soundsThis will copy the files to your newly created sound directory.
For the first version of this app is a simple php program. Going through a detailed introduction to php is beyond the scope of this article and honestly has been covered to death elsewhere. In a nutshell php allows you to mix code and html together to have a programmatically generated webpage.
In this case we are going to create a new page (index.php) which will have a title at the top then list all the files it finds in our sound directory as a set of buttons. When a user clicks on a file button it will run the omxplayer command using the filename from that button
Create the index page
sudo nano index.phpEnter the following
<html>
<head>
<title>Distractor</title>
</head>
<body>
<form method="get" action="index.php">
	<div >
		<center><h1>Distractor</h1>
        <?php
			// 1. OPEN THE SOUNDS DIRECTORY
  			 if ($handle = opendir('/var/www/html/sounds'))
			 {
				while (false !== ($entry = readdir($handle))) { // 2. LIST THE FILES IN THIS DIRECTORY
					if ($entry != "." && $entry != "..") { // 3. SKIP THE SYSTEM . and .. FILES
					  echo "<input type='submit' value=".$entry." name='fn'/><br/> "; // 4. FOR ALL OTHER FILES CREATE AN HTML INPUT BUTTON WITH A VALUE OF THE FILENAME and a name of fn

					}
				}
				closedir($handle); // 5. CLOSE THE DIRECTORY HANDLE
			}
		?>
		</center>
    </div>
</form>
<?php
    if(isset($_GET['fn'])) // 6. IF THIS PAGE IS POSTED WITH AN FN ARGUMENT PLAY THAT SOUND
    {
        $fullpath = '/var/www/html/sounds/'.$_GET['fn']; // 7. ADD THE FULL PATH TO THE PASSED FILENAME
        $cmd = '/usr/bin/omxplayer --genlog --no-keys -o alsa:hw:1,0 --vol 1000 ' .$fullpath.' &'; //8. PLAY THE SOUND
        shell_exec($cmd);
    }
?>
</body>
</html>
The html components of this file should be familiar to you. The PHP commands which this file are running do the following
- Open the sounds directory file to get a list of files. This returns a file object (also called a handle).
- For each file found …
- If its a system file ignore it
- Create an html submit button with the filename as the value
- Close the file handle object
- If the user clicks the submit button the page will reload with the fn parameter set. If its set
- Add the full path to the passed filename
- Please the sound using the OMX Player command
Try it Out
Launch a browser and bring up http://<your pi hostname>.local If you needed to use an ip address to ssh to your pi, use that to bring up the page, You should now see a list of sound files in a simple interface.
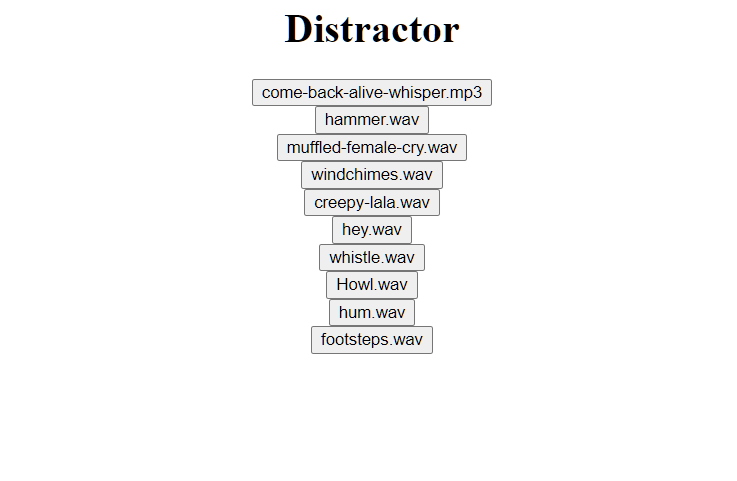
Clicking on a sound should start playing it.
Troubleshooting
It is entirely possible that the first time you create this page something will go wrong. Thankfully there is a text log created in /var/logs/apache2/error.log. Take a look at this file and it will usually point you at the line(s) which are the cause of your grief.
Conclusion
This is part one of a series. The next part we will clean up the look and feel of our page a bit and create the ability to upload new files and terminate playing sounds. We will also change the device to be its own WIFI hotspot and not rely on an existing network.
For a list of where these great sounds came from please see attributes on part 2 of this series.
Source for Part 1 can be found here
.