
Sharks With Lasers
Medium: 3mm-1/8 Baltic Birch
Introduction
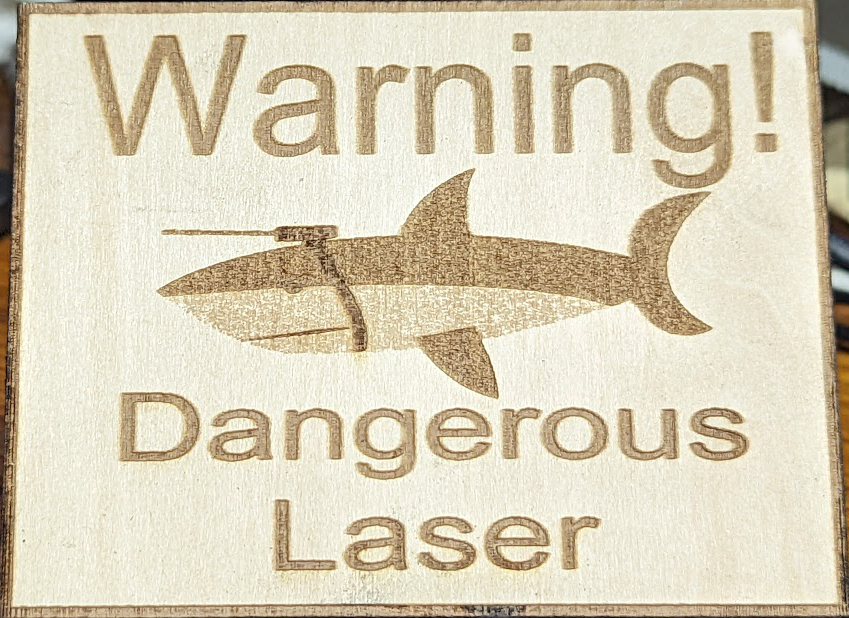
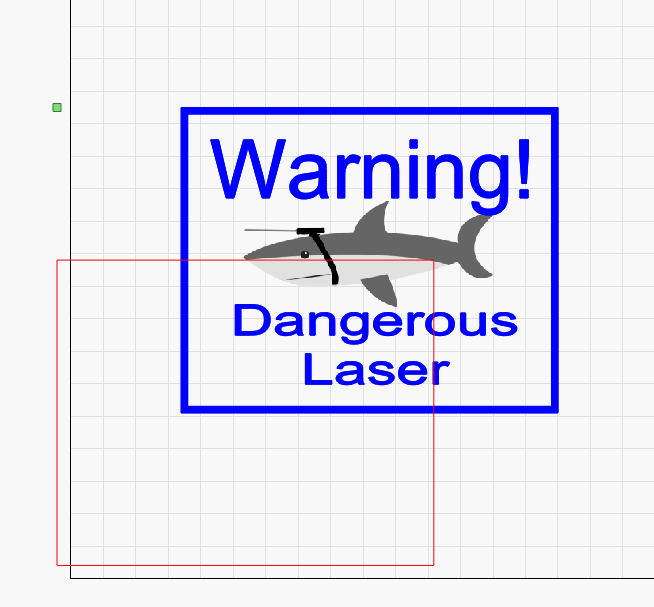
For our first project we will engrave a simple warning size for you to engrave and hang by your machine.
Steps
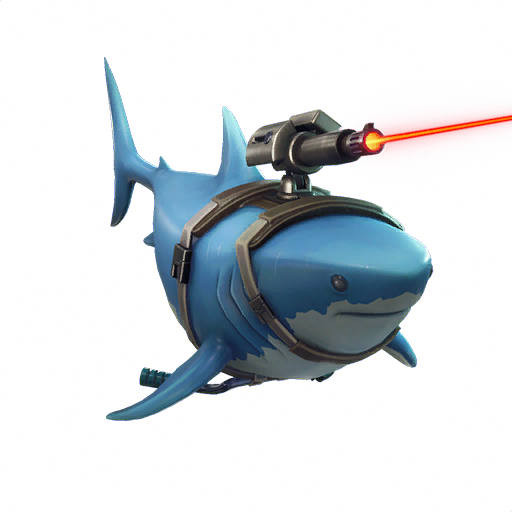
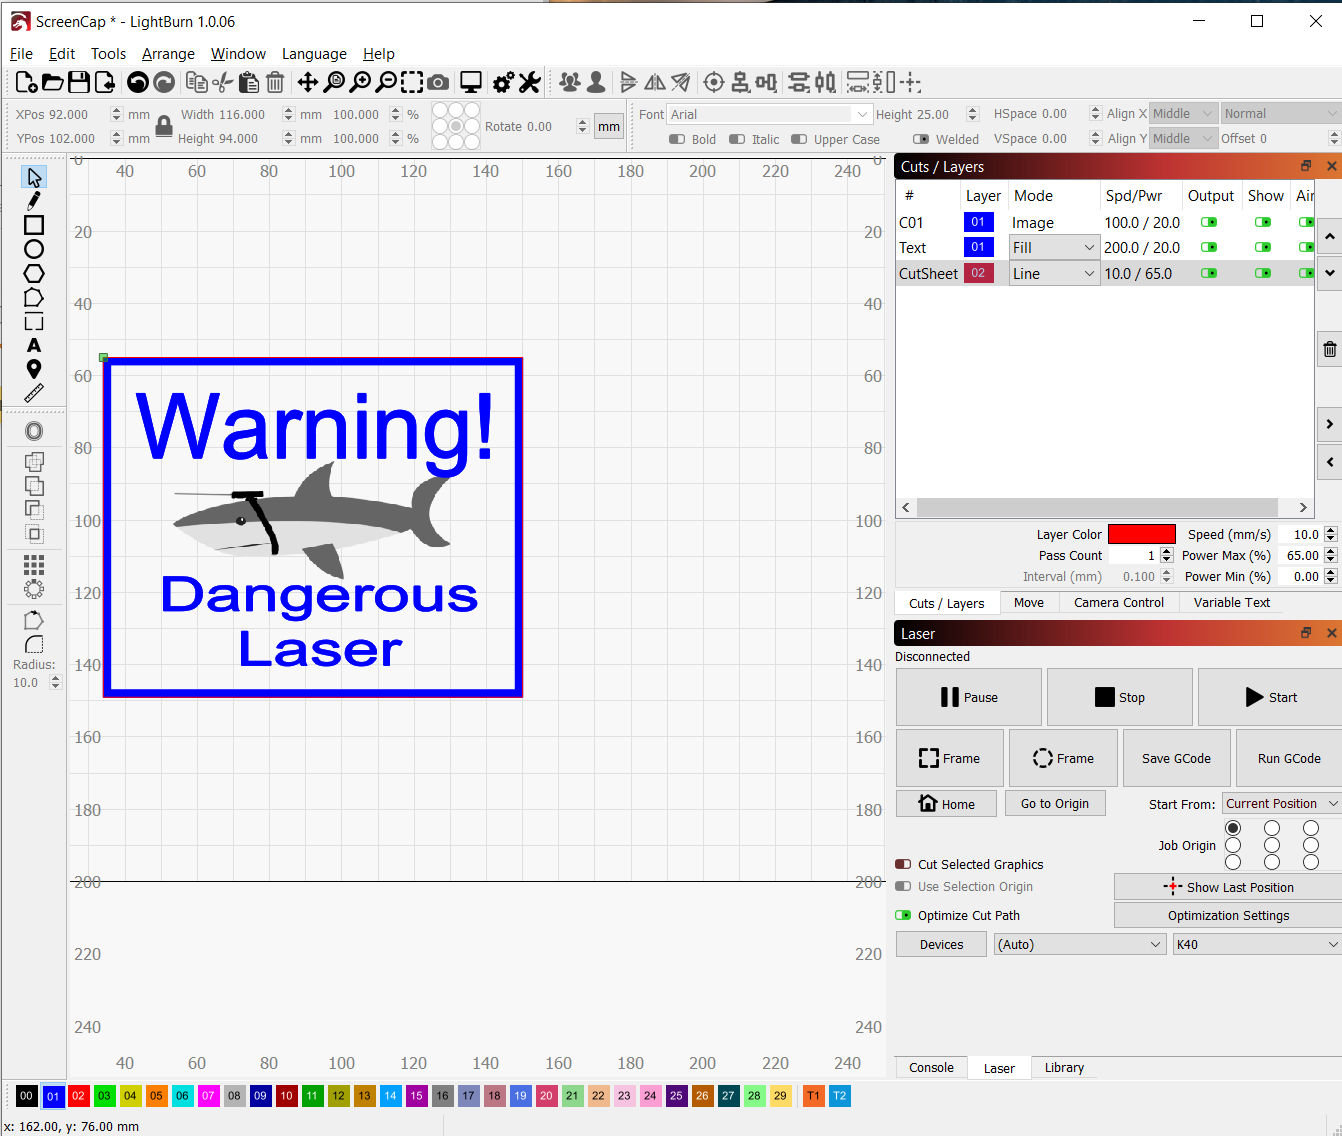
- Load your art into LightBurn using file import or the sheet of paper with an arrow pointing to it. Here we are using a shark with Laser but the art section also has the standard Laser symbol.
Pro Tip: when you can use a shark with a laser it is always the right move.
- Resize the shark to a more reasonable size. Mine ended up being 78×33 mm
- Click on the Text Tool, Then above the shark and type Warning!

- Repeat this beneath the shark and type
Dangerous <enter>
Laser
- Make sure your Text Alignment is centered (Align X at the top of the screen)
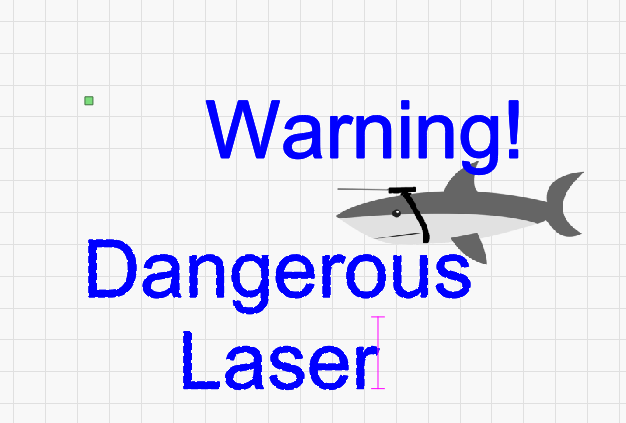
-
Click Control A to select everything, Then click Align V Center (This can be found under Arrange-> Align or by Clicking the Stacked boxes on the toolbar.

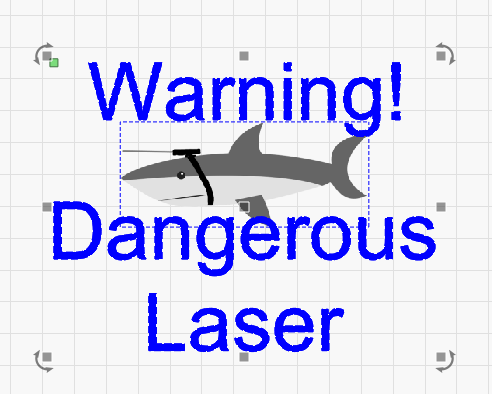
- Now that everything is centered Shrink the Dangerous Laser to a smaller size (About as wide as the shark)
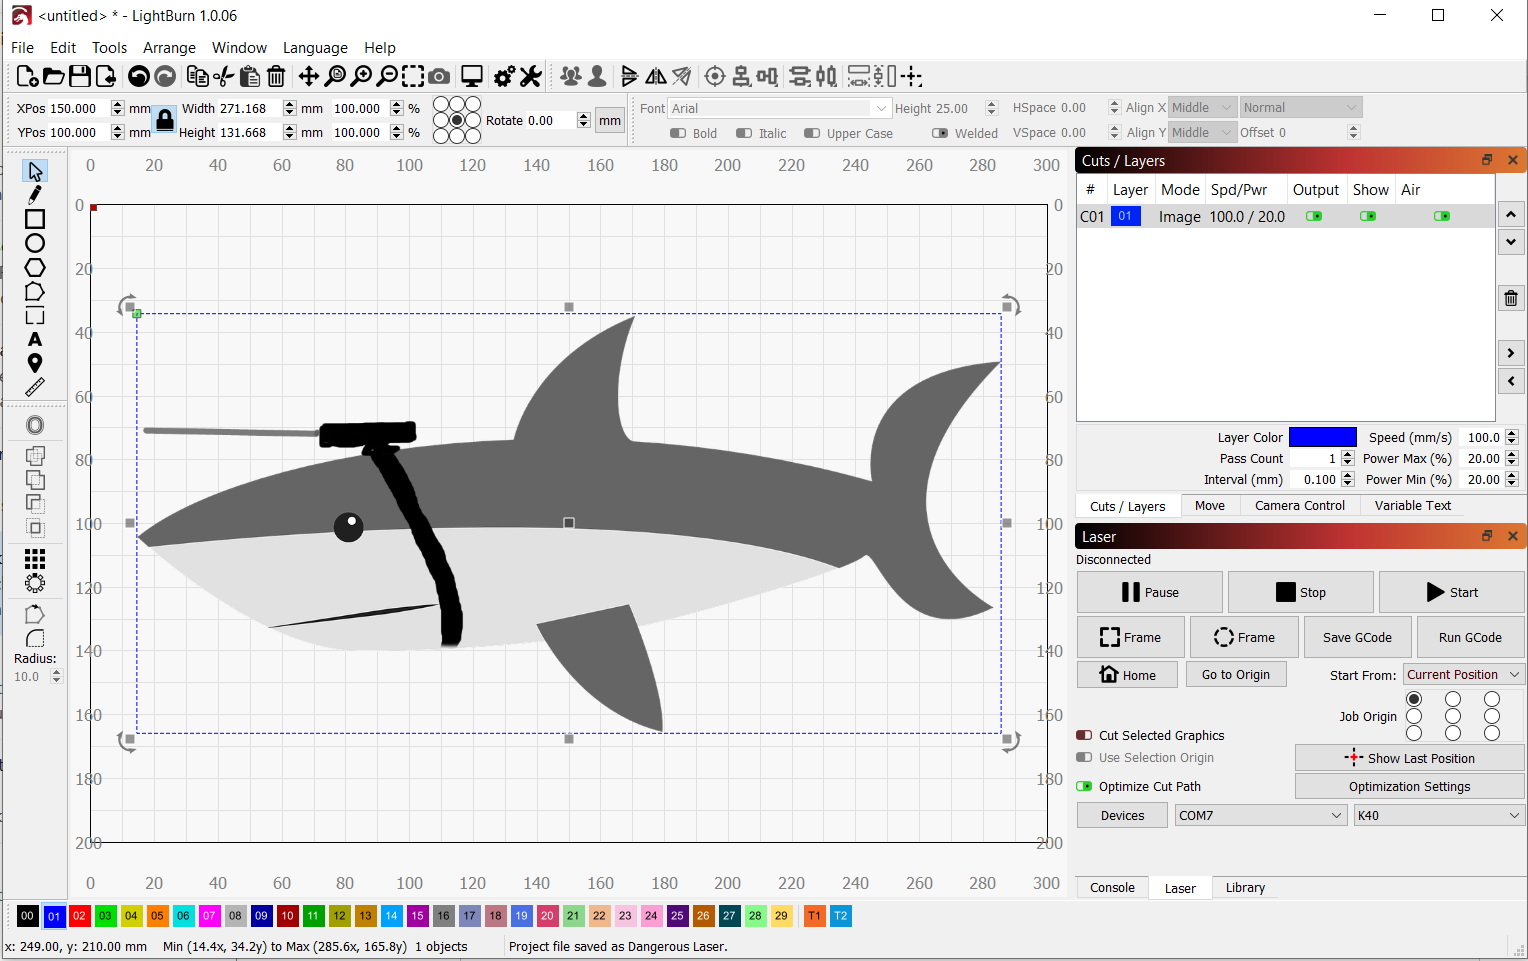
- The Shark will come in as an image layer. Choose your default Medium darkness engrave and Speed (see the chapter on Dialing It in)
- Choose another color (Blue in the screen shots) for your vector elements (The Text for now) and set it to Fill and the same settings

- Next Draw a rectangle large enough to encompass the shark and text.
- Then choose Tools->Offset Shapes and add a 2 mm boundary this will create a second rectangle around the first
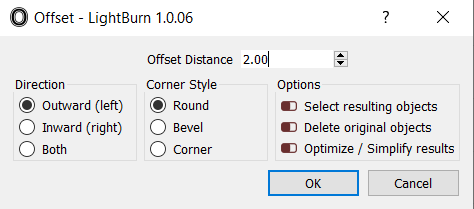
- Choose round or corner bevels as desired
- Select just the outer shape and duplicate it by doing cut and paste
- Change the layer color for this new rectangle. Don’t worry about alignment right now
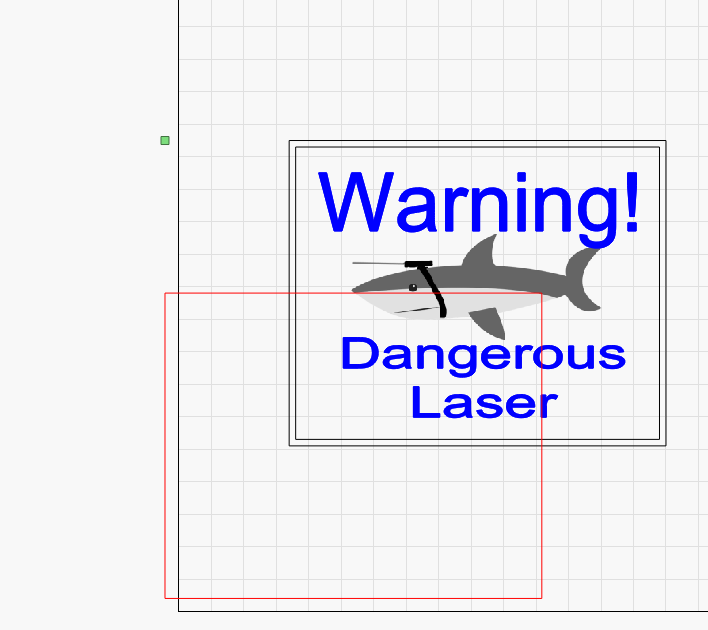
12. Set the settings for the new layer (red in the above pic) to your cut setting (see dialing it in)
13. Select both of the original rectangles and choose Weld
This will turn this into a single shape.
- Set this to the same layer color as your text and you will end up with a border around your sign
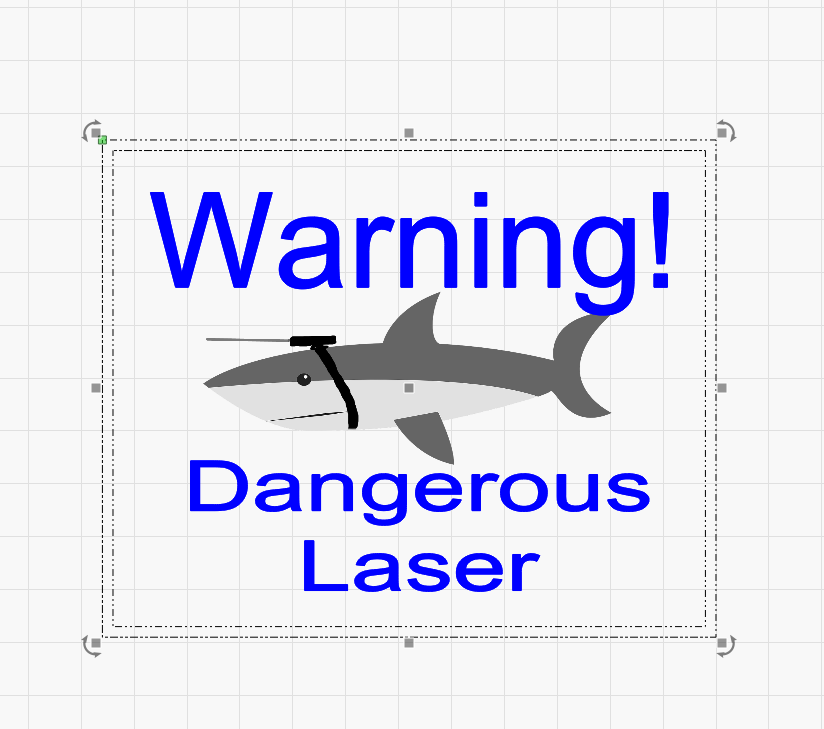
- Select the red rectangle and your border then do Align V Middle and Align H Middle and you will end up with your sign ready to cut
Cleanup
Even with air assist you will typically get a bit of smoke darkening around your cuts or engraving. Take a shop towel and some acetone or ipa and wipe down your project completely to remove this. Alternatively a light sanding with 220 grit sand paper will remove this as well.