

Introduction
In part 1 of this series we setup our Raspberry Pi to be a web server, configured audio to play and put up a simple page to list the locally installed audio files and play them. In part 2 we will do the following
- Add the ability to stop audio from playing
- Add the ability to upload a new file.
- Configure the Pi to be a stand alone WIFI hotspot
Stopping Audio
Since we are relying on omxplayer to play our audio killing the omx process should stop the audio. To kill a process on the pi use the command kill. To kill all instances of a given command we use killall <command>. So to kill all running copies of omxplayer run.
killall omxplayerSo lets try it, start a long running audio file from your browser using the page we created in part 1 (windchimes is a nice long one). ssh to your pi and do killall omxplayer.
Sadly this doesn’t work….
The reason why this doesn’t work is that the omxplayer command does not actually play the audio file. Instead it launches a minion process (aka child process) to do the heavy lifting. This process is called omxplayer.bin so lets try our test again. Start a long running sound, ssh to your pi and try the following
killall omxplayer.binThat kills the sound instantly.
So now that we know how to stop playback lets wire it into our ui. Using the index.php we created in part one of this series
sudo nano /var/www/html/index.phpAdd the following. In your header after the title add
<meta name="viewport" content="width=device-width" /> This will help the page scale correctly on smaller screens.
Above the first <?php add
<input type="submit" value="Kill Sound" style="background-color:#800000" name="killall"/>This creates a new red button with the label Kill Sound.
Above the code which starts with if(isset($_GET[‘fn’])) add the following
 if (isset($_GET['killall']))
         {
          $cmd='/usr/bin/killall omxplayer';
          shell_exec($cmd);
           $cmd='/usr/bin/killall omxplayer.bin';
           shell_exec($cmd);

         }
         else
What this does is look for a url variable called killall then does the 2 killall commands.
The second version of index.php should look like this.
<html>
<head>
<title>Distractor</title>
</head>
<meta name="viewport" content="width=device-width" />
<body>
<form method="get" action="index.php">
	<div >
		<center><h1>Distractor</h1>
        <input type="submit" value="Kill Sound" class="button" style="background-color:#800000" name="killall"/>
        <?php
			// 1. OPEN THE SOUNDS DIRECTORY
  			 if ($handle = opendir('/var/www/html/sounds'))
			 {
				while (false !== ($entry = readdir($handle))) { // 2. LIST THE FILES IN THIS DIRECTORY
					if ($entry != "." && $entry != "..") { // 3. SKIP THE SYSTEM . and .. FILES
					  echo "<input type='submit' value=".$entry." name='fn'/><br/> "; // 4. FOR ALL OTHER FILES CREATE AN HTML INPUT BUTTON WITH A VALUE OF THE FILENAME and a name of fn

					}
				}
				closedir($handle); // 5. CLOSE THE DIRECTORY HANDLE
			}
		?>
		</center>
    </div>
</form>
<?php
 if (isset($_GET['killall']))
 {
  $cmd='/usr/bin/killall omxplayer ';
  shell_exec($cmd);
   $cmd='/usr/bin/killall omxplayer.bin ';
   shell_exec($cmd);

 }
 else if(isset($_GET['fn'])) // 6. IF THIS PAGE IS POSTED WITH AN FN ARGUMENT PLAY THAT SOUND
    {
        $fullpath = '/var/www/html/sounds/'.$_GET['fn']; // 7. ADD THE FULL PATH TO THE PASSED FILENAME
        $cmd = '/usr/bin/omxplayer --genlog --no-keys -o alsa:hw:1,0 --vol 1000 ' .$fullpath.' &';// 8. PLAY THE SOUND
        shell_exec($cmd);
    }
?>
</body>
</html>
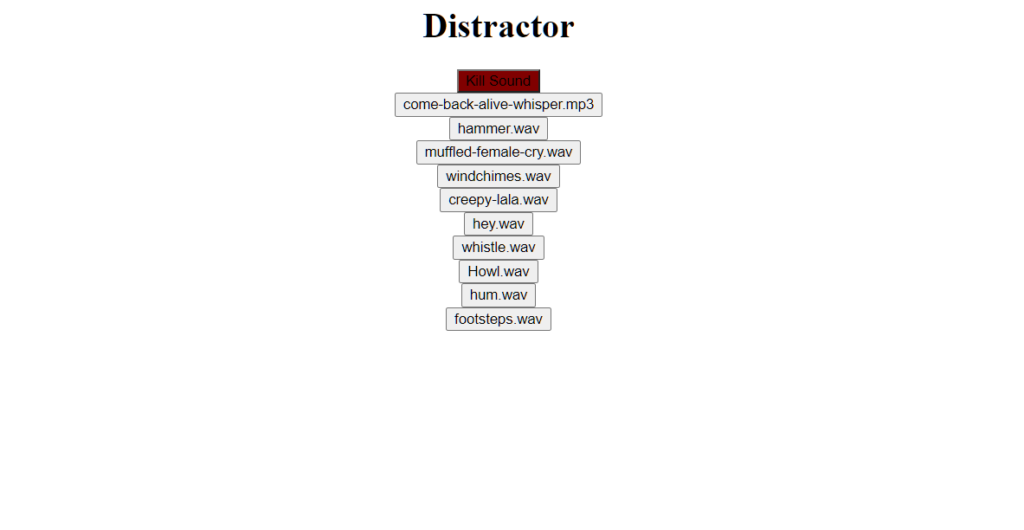
Accessing the page should now look like this. Confirm our red kill button works by playing a long sound and then click kill sound.
Upload New Sounds
It would be great if we didn’t have to use a terminal or sftp program to upload sounds to our Device. Lets add a couple of pages that allow us to do just that.
FileMgr.php
Create a new file called FileMgr.php.
sudo nano /var/www/html/filemgr.phpAdd the following to this simple page
<html>
<head>
<title>Distractor File Manager</title>

</head>

<body>
<form action="upload.php" method="post" enctype="multipart/form-data" name="form1">
<center>
	<h1>Distractor</h1> <br/>
	<input type="file" name="fileupload" id="fileupload"><br/>
	<input type="submit" name="SubmitBtn" id="SubmitBtn" value="Upload">		<br/>
</center>
</form>
</body>
</html>
This page presents a file upload button which allows the user to browse and select a file. Then a submit button which will call our next page upload.php which saves the file into our sounds directory.
Lets create that now
sudo nano /var/www/html/upload.phpHere is the code for upload.php
<?php
if(isset($_POST["SubmitBtn"])){
	$fileName=$_FILES["fileupload"]["name"];
	$fileSize=$_FILES["fileupload"]["size"]/1024;
	$fileType=$_FILES["fileupload"]["type"];
	$fileTmpName=$_FILES["fileupload"]["tmp_name"];
	$newFileName=$fileName;
	//File upload path
	$uploadPath="/var/www/html/sounds/".$newFileName;

	//function for upload file
	if(move_uploaded_file($fileTmpName,$uploadPath)){
		echo"<html><body>";
		echo "Successful";
		echo "<br/>";
		echo "File Name :".$newFileName;
		echo "<br/>";
		echo "File Size :".$fileSize." kb";
		echo "<br/>";
		echo "File Type :".$fileType;
		echo "<br/><a href='index.php'>Back to the main page</a>";
		echo"</html></body>";
	}

}

?>
This code takes the name, size and type from the fileupload object submitted by filemgr.php and saves the tmp version of the file to our /var/www/html/sounds directory.
It then builds a small webpage to display information about the file and allow the use to go back to the main menu.
Lets try it out. Download the blah.wav file. The navigate to the new filemgr.php page on your browser. (http://<your pi’s ip>/filemgr.php)
Click on the choose file button and select the blah.wav file you downloaded.

Click Upload
After a moment you should see this

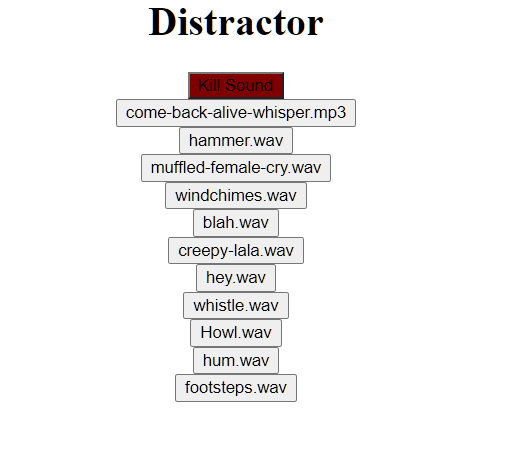
Clicking on “Back to main page” will bring you to the main index page where you will see the blah.wav file listed
Lets update our index page to have a link to filemgr.
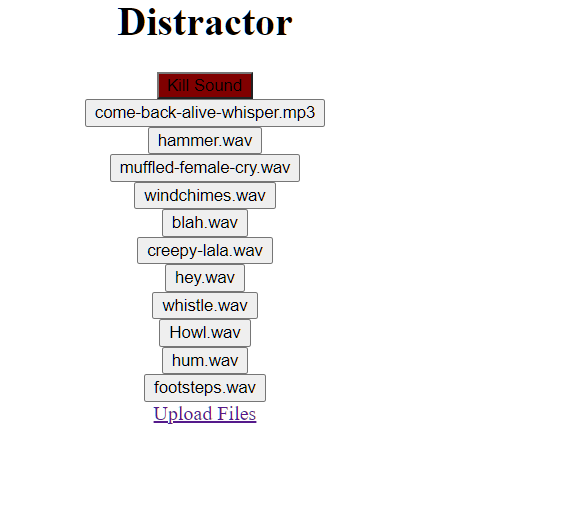
sudo nano /var/www/html/index.phpAdd the following code just before the closing center tag (</center>)
<a href='filemgr.php'>Upload Files</a>Refresh the index page on your browser and it should look like this
WIFI HotSpot
The last piece to our distractor puzzle is untethering it from our local network and making it a stand alone WIFI hotspot. This will allow us to connect to it in the field and minimize the preconfiguration required to use the device.
Note: These steps can easily make your device inaccessible. If you have an issue you may have to connect an ethernet cable to correct to your pi again. Don’t restart the pi until the step tells you to.
hostapd/dnsmasq
There is already a package to allow your RaspberryPi to function as a wifi hot spot called hostapd. It needs a companion package called dnsmasq. Lets install and configure these.
sudo apt-get install hostapd dnsmasq Stop the services so we can configure it
sudo systemctl stop hostapd
sudo systemctl stop dnsmasq
Open the hostapd.conf file
sudo nano /etc/hostapd/hostapd.confAdd the following lines.
interface=wlan0
driver=nl80211
ssid=distract
hw_mode=g
channel=7
wmm_enabled=0
macaddr_acl=0
auth_algs=1
ignore_broadcast_ssid=0
country_code=US
Point hostapd to the config file you created
sudo nano /etc/default/hostapd
Uncomment the line which starts with DAEMON_CONF by removing the # and then change it to read
DAEMON_CONF=”/etc/hostapd/hostapd.conf”
Edit the Pi’s DHCP settings
sudo nano /etc/dhcpcd.conf
At the bottom of this file add the following. This will set the pi’s ip address to 192.168.4.1. If this is not available (in case you have a network device with this ip, pick another)
interface wlan0
static ip_address=192.168.4.1/24
nohook wpa_suplicant
denyinterfaces wlan0
Configure the dnsmasq service
sudo mv /etc/dnsmasq.conf /etc/dnsmasq.conf.orig
sudo nano /etc/dnsmasq.conf
Add the following
interface=wlan0 # Use the require wireless interface - usually wlan0dhcp-range=192.168.4.2,192.168.4.20,255.255.255.0,24hLastly we need to turn off the wpa supplicant wifi service otherwise it will grab the wifi interface before our access point can. There seems to be some debate about how to do this. Just disabling the service does not seem to do it what worked the best was to rename the supplicant configuration.
sudo mv /etc/wpa_supplicant/wpa_supplicant.conf /etc/wpa_supplicant_save.saveNow make sure the hostapd.service is not masked/disabled
sudo systemctl unmask hostapd
sudo systemctl enable hostapd
Start the hostapd service to confirm there are no errors
sudo systemctl start hostapdIf nothing stands out as an error restart your pi
sudo shutdown -r 0At this point your pi will not be reachable from its old address. It will take a few minutes to spin up the wifi network access point but after that you should see a new wifi network called distract.
Connect to it. You will receive a complaint that the network does not have internet access and it may take an extra connect attempt to actually connect to it. On my android device I had to forcefully disconnect from my normal wifi and then it would remain connected.
Once you are connected point your browser to http://192.168.4.1 and you should see the normal distractor webpage.
Conclusion
There is many ways this app/device could be expanded and improved. For example you could add a feature to loop audio, a better file manager, a cleaner interface, control via bluetooth etc. I hope this article inspires you and if you think of any cool changes or uses for this feel free to comment.
Source for this part can be found here
Attributions
There are several great sound sites on the web freesound.org was where many of the more interesting sounds for this project came from. I renamed them to be shorter and more logical but here is what I used.
hum.wav – AlucardsBride – https://freesound.org/people/AlucardsBride/sounds/193938/
creepy-lala.wav – AlucardsBride – https://freesound.org/people/AlucardsBride/sounds/193940/
muffled-female-cry.wav – HorrorAudio – https://freesound.org/people/HorrorAudio/sounds/359154/
Howl – dobroide – https://freesound.org/people/dobroide/sounds/550441/download/550441__dobroide__20201002-howl.wav
Come-back-alive – LadyImperatrix – https://freesound.org/people/LadyImperatrix/sounds/503270/download/503270__ladyimperatrix__come-back-alive-whisper.mp3
Other sounds were recording using Audacity. Levels were also adjusted with Audacity. If you download additional audio you may need to tweak the audio volume to eliminate distortion.